Starting a real estate photography business can be a lucrative and exciting venture. With the real estate market constantly growing, there is always a demand for high-quality photos and videos to help agents sell properties faster and for higher prices. However, starting a business isn’t as simple as buying a camera and taking pictures. It takes strategy, effort, and some hustle to get your first client and set yourself up for long-term success.
If you’re ready to dive into the world of real estate photography, this post will walk you through the steps to start your own business and land your first client. So grab your camera (and maybe a coffee), and let’s get started!
Step 1: Invest in the Right Equipment
Before you can start capturing beautiful property shots, you’ll need to invest in the right gear. Your camera and lenses are your tools of the trade, so it’s crucial to choose equipment that delivers high-quality results. Here’s a list of essential gear for getting started:
Camera Body
You don’t need the latest and most expensive camera to start, but you’ll want something that can produce sharp, high-quality images. A full-frame DSLR or mirrorless camera is ideal for real estate photography because it captures more light, which is essential for shooting indoors or in lower lighting conditions.
Recommended cameras:
- Canon EOS R5/R6 (Mirrorless)
- Sony A7S III (Mirrorless)
- Nikon Z6 II (Mirrorless)
- Panasonic S5ii (Mirrorless)
Lenses
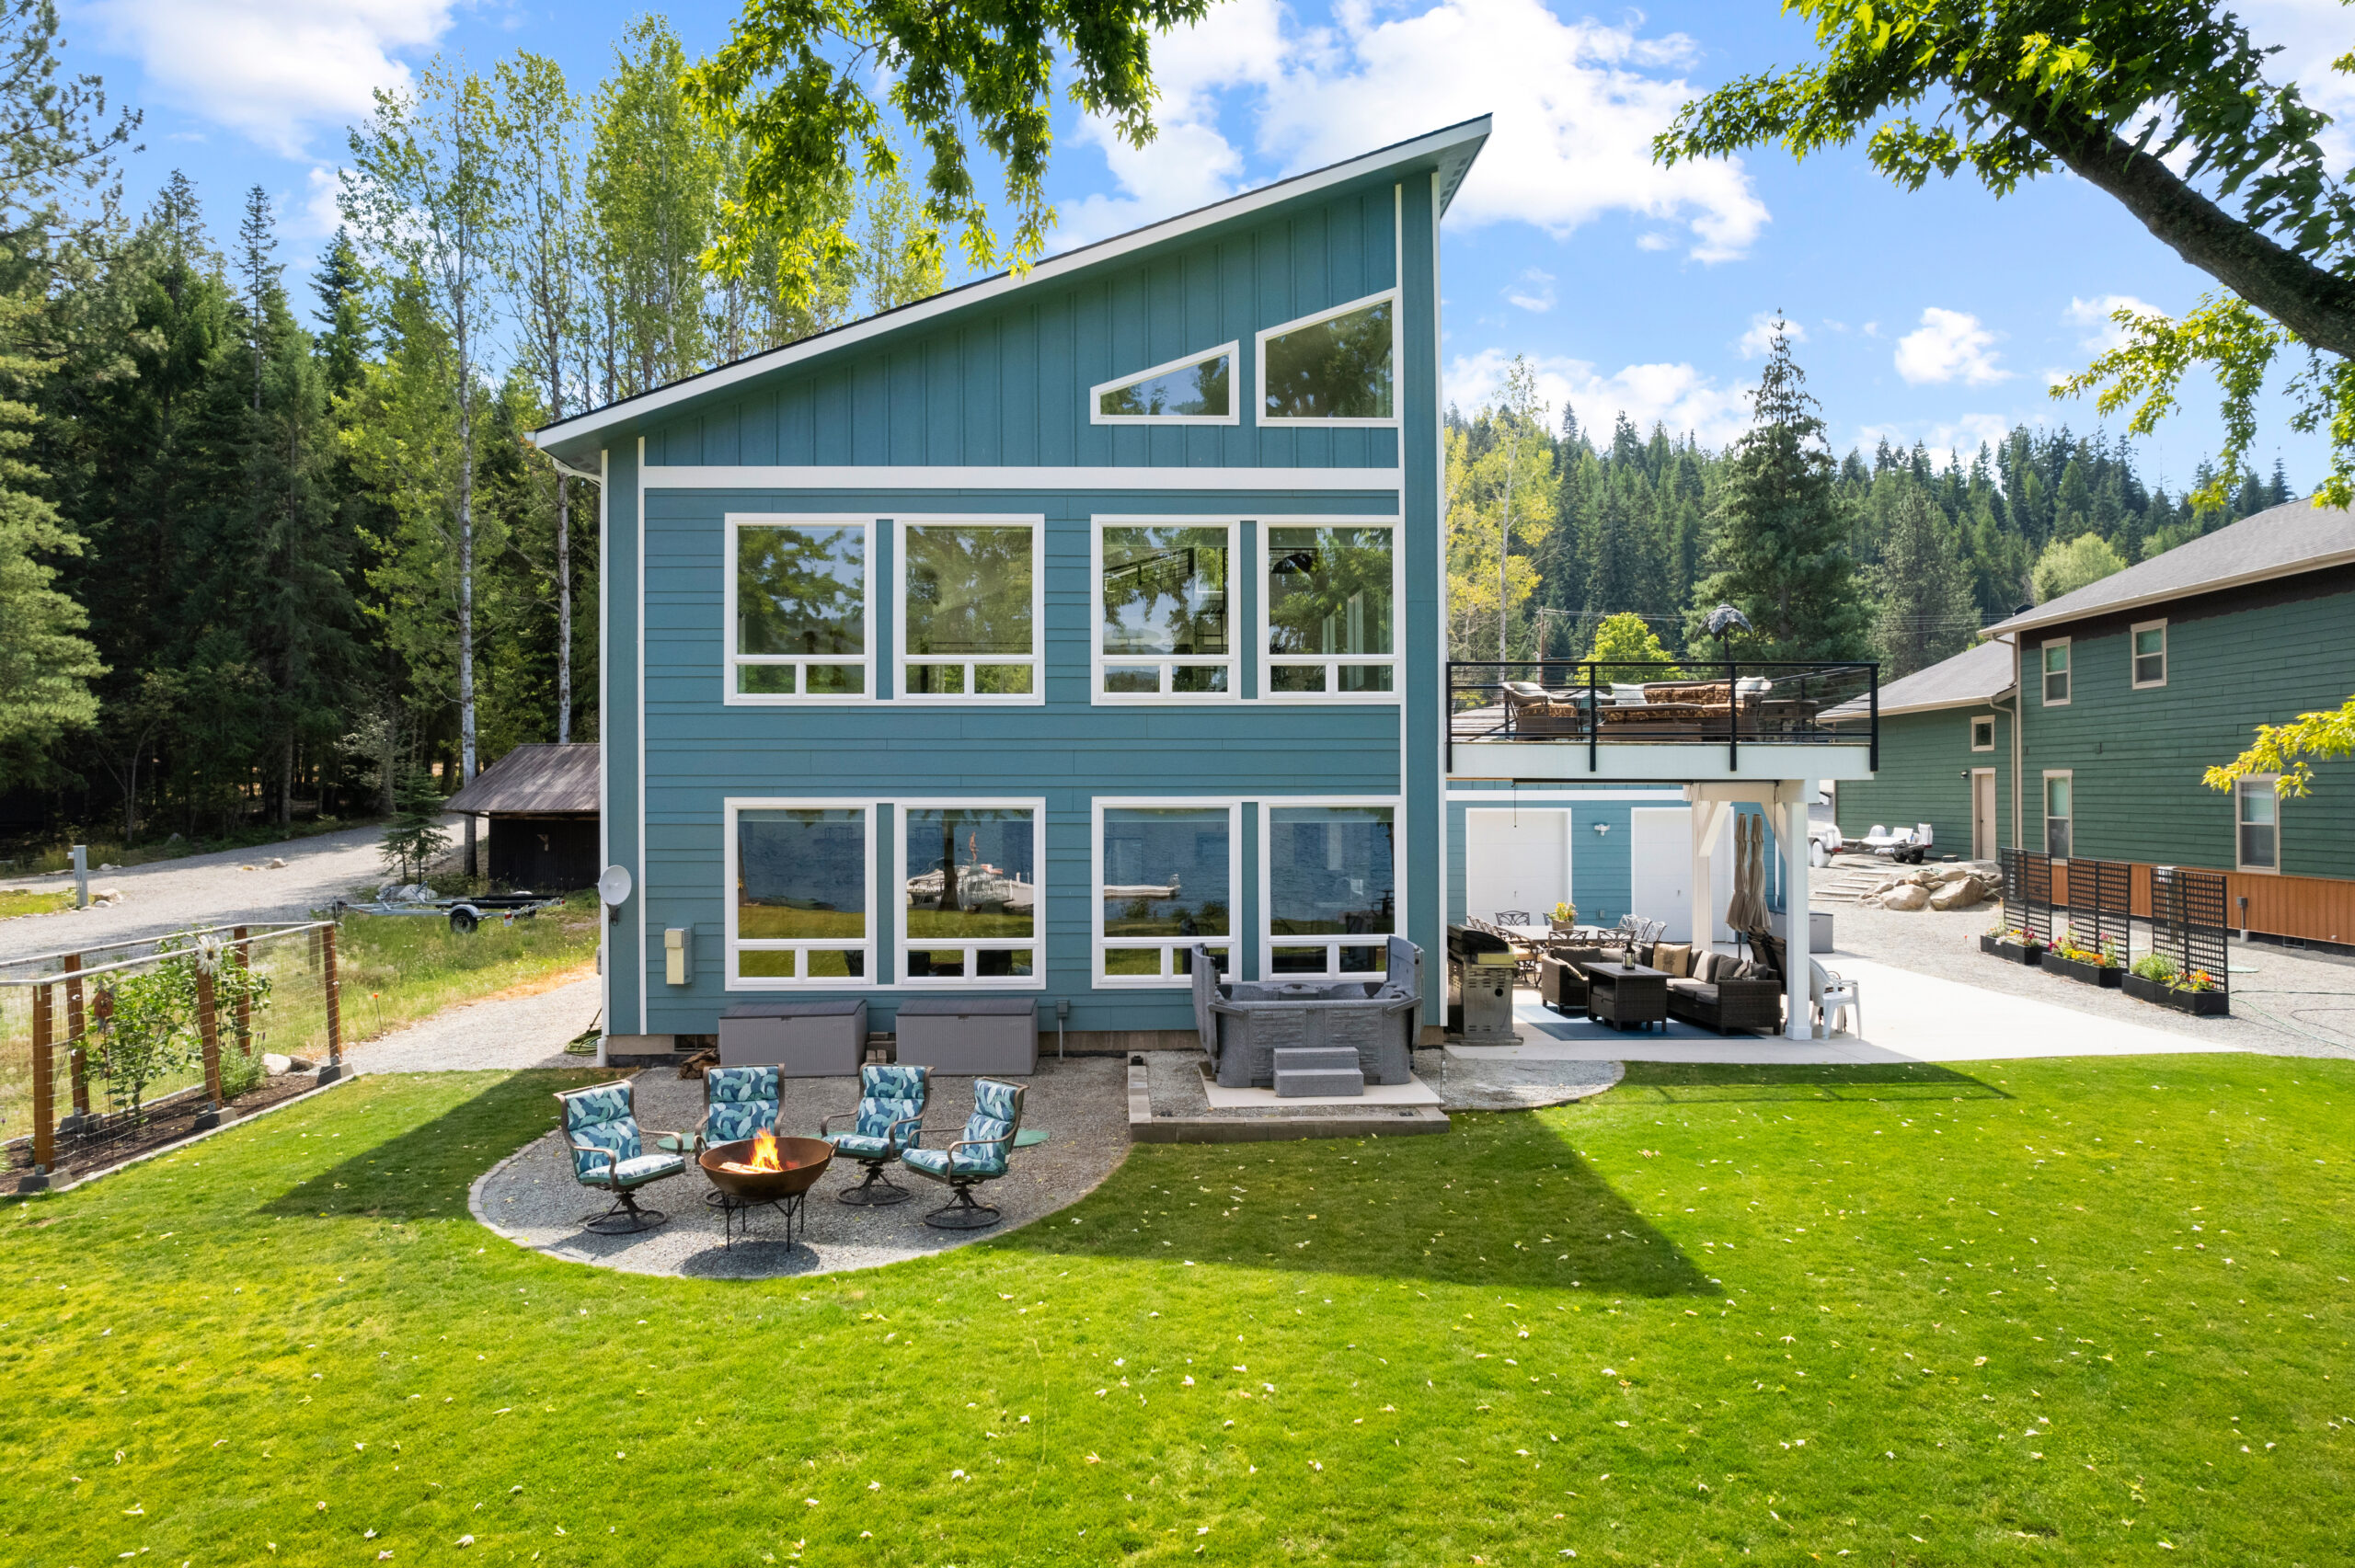
For interior real estate photography, a wide-angle lens (around 16-35mm) is crucial. This will allow you to capture as much of the space as possible, even in smaller rooms. For exterior shots, you may also want a standard zoom lens (24-70mm) to capture detailed shots of the property.
Tripod
A tripod will help you keep your camera steady for longer exposures, especially when you need to capture HDR (High Dynamic Range) images. It’s also essential for real estate videography to ensure smooth footage.
External Flash & Lighting
Sometimes, the lighting conditions inside homes aren’t ideal. A flash or LED lighting can help fill in shadows and illuminate the space evenly. Consider a flash with a diffuser for softer lighting.
Drone (Optional, but Useful)
A drone can provide stunning aerial views of the property and the surrounding area. It’s not a must-have when starting, but it can be a great upsell for larger properties or commercial real estate.
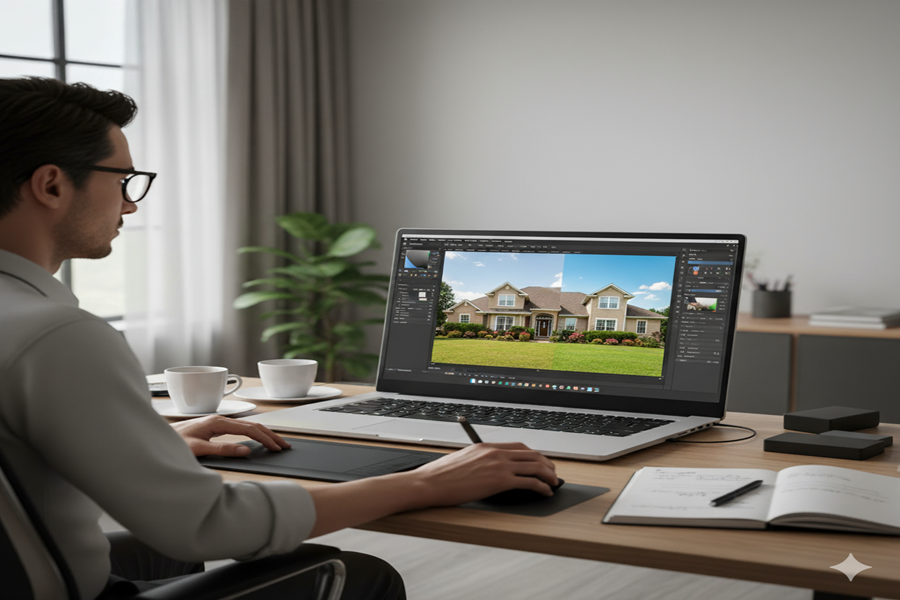
Editing Software
You’ll also need editing software to enhance your photos and videos. Adobe Lightroom and Photoshop are industry standards for photo editing, while Final Cut Pro, Davinci Resolve or Adobe Premiere Pro are excellent for video editing.
Step 2: Set Up Your Business
Once you have your gear, it’s time to set up your business structure. This involves legal and administrative steps to ensure that you’re operating legally and professionally.
Choose a Business Name
Pick a name that reflects your services and is easy to remember. Something like “[Your Name] Real Estate Photography” or “Premier Property Photography” can work. Just make sure the name is not already taken in your area, and it has a domain available for your website.
Register Your Business
Check with your local government about the requirements for registering your business. In some places, you may need to register your business name, apply for a business license, or obtain liability insurance.
Get Your Business Finances in Order
Set up a separate business bank account to keep your personal and business finances separate. You’ll also want to track your income and expenses for tax purposes, so using accounting software like QuickBooks or FreshBooks can be very helpful.
Set Your Pricing Structure
Determine how much you want to charge for your services. If you’re just starting out, it’s okay to charge lower prices to attract your first clients, but be careful not to undervalue your work. Research the going rates in your area and ensure your pricing is competitive, but sustainable.
Here’s a basic structure:
- Standard Property Photos: $150–$400 (depending on the size of the property)
- Real Estate Video: $400–$800
- Aerial Drone Shots: $100–$300
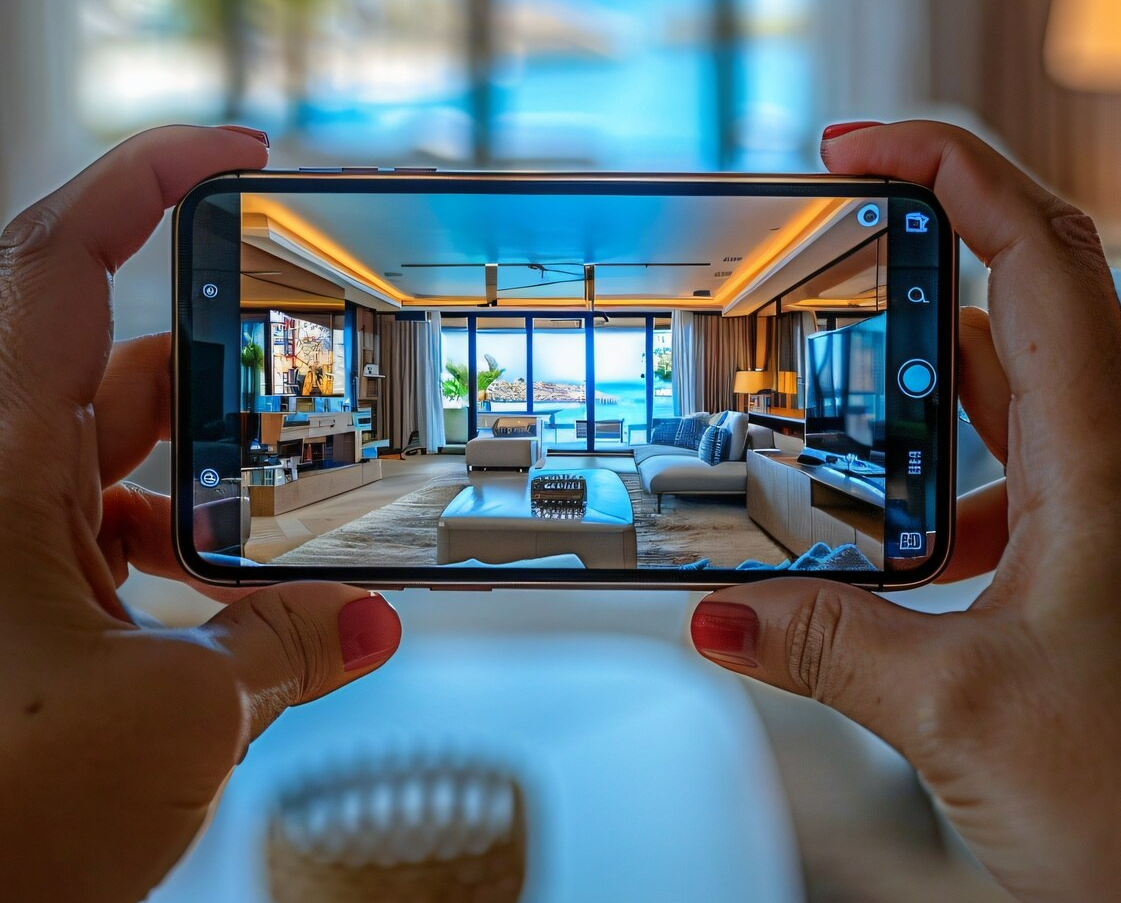
- 360° Virtual Tours: $200–$500
Create a Website
In today’s digital age, having a professional website is essential. Your website should showcase your portfolio, offer an easy way for potential clients to contact you, and provide pricing information. You can also use your website to blog about real estate photography tips or client case studies.
Set Up Your Social Media Profiles
Social media is a powerful marketing tool for photographers. Create business profiles on platforms like Instagram, Facebook, and LinkedIn to showcase your work, connect with real estate agents, and build a following.
Step 3: Build a Portfolio
Before you start marketing your services, you need a solid portfolio to show potential clients. If you don’t have any real estate photography work to showcase, you can get creative to build your portfolio:
Offer Free or Discounted Work
In the beginning, offering your services for free or at a discounted rate is a great way to get some high-quality shots and gain experience. Try reaching out to:
- Friends and Family who may be selling their homes.
- Local real estate agents who may need photos for their listings.
- Property managers or vacation rental owners who could benefit from professional photography.
Make sure to get permission from your clients to use the photos in your portfolio and on your website.
Build a Strong Portfolio Website
Once you have several images, curate a portfolio on your website with your best shots. Show a variety of properties (homes, commercial buildings, apartments, etc.) and include both interior and exterior shots. The goal is to showcase your versatility and skill.
Step 4: Market Your Real Estate Photography Business
Now that your business is set up and your portfolio is looking good, it’s time to get the word out and attract clients. Here are some effective marketing strategies:
Reach Out to Local Realtors
Real estate agents are your primary clients. Reach out to local realtors with a personalized pitch offering your services. Highlight your USP (whether it’s drone photography, virtual tours, or quick turnaround times), and offer a special discount or freebie for first-time clients.
You can also attend real estate networking events or local open houses to meet realtors in person.
Utilize Social Media
Social media is one of the best ways to showcase your work and attract potential clients. Share your best photos on Instagram and use relevant hashtags like #RealEstatePhotography, #HomeSelling, or #RealEstateListing. Post behind-the-scenes content, tips, and client testimonials to build trust with your audience.
Google My Business
Set up a Google My Business profile to show up in local searches. Make sure to update it regularly with new photos, business hours, contact info, and links to your website. Encourage your clients to leave reviews to build credibility.
Paid Advertising
Once you have some experience, consider running Facebook or Instagram ads targeting local real estate agents or property managers. You can also use Google Ads to show up when people search for real estate photographers in your area.
Step 5: Get Your First Client
Getting your first client is arguably the hardest part, but it’s also the most rewarding. Here’s how to increase your chances of landing that first booking:
Offer a Promotion or Discount
When you’re just starting out, offering a limited-time promotion or discount can be a great way to attract clients. A good offer could be something like “Get 25% off your first property shoot” or “Free drone shots with your first booking.”
Leverage Referrals
Word-of-mouth referrals are a powerful tool in real estate. After completing your first shoot, ask your clients for referrals or testimonials. If they had a positive experience, they will be more likely to recommend you to others.
Follow Up
Don’t be discouraged if you don’t land a client right away. Be sure to follow up after sending your initial emails or proposals. Polite, persistent follow-ups show clients that you’re serious about your business.
Step 6: Deliver Exceptional Service
Once you land your first client, the key to growing your business is delivering exceptional service. Go above and beyond by:
- Communicating clearly and professionally with your client.
- Meeting deadlines and delivering high-quality photos/videos.
- Offering quick turnarounds, as real estate agents often need images fast.
- Creating a positive experience that makes clients want to return and refer you to others.
Conclusion: Get Ready to Launch Your Real Estate Photography Business
Starting your own real estate photography business is no small feat, but with the right tools, strategies, and hustle, you can make it happen. By investing in quality gear, building a strong portfolio, and using smart marketing strategies, you can set yourself up for long-term success.
Now, take that first step—whether it’s reaching out to a local realtor, offering discounted services, or posting your work on social media—and get your first client! With dedication and the right approach, your real estate photography business can flourish and grow into a full-time, profitable venture. Also check out our other post on The Best Strategies to Market and Grow Your Real Estate Media Company. Good luck!