Introduction: Why Editing Real Estate Photos Matters
Listen up — your photos are either selling houses or losing you money. Period. Buyers decide in second whether they’ll even look at your listing. Bad photos? They’re gone. Doesn’t matter if you’re selling a million-dollar mansion — terrible pictures kill deals before they start.
You need real estate photo editing. This isn’t about making things “pretty” — it’s about making money. Good editing fixes lighting disasters, makes colors pop, and turns okay photos into scroll-stopping magnets that grab buyers and don’t let go.
Here’s the brutal truth: amateur photos get amateur results. Professional editing gets you more views, more showings, and bigger paychecks. Every day you wait for money walking out the door.
My Pro Photos get it done right. We’ve crushed 90,000+ images for 200+ clients who are making serious money. Upload your photos, we make them incredible, you download and watch the calls pour in.
Stop leaving money on the table. Your competition is already using pro editing while you’re still posting phone pictures. Get serious or get left behind.
What is Editing Real Estate Photos?
Look, if you’re still posting raw, unedited real estate photos, you’re literally throwing money away. Period.
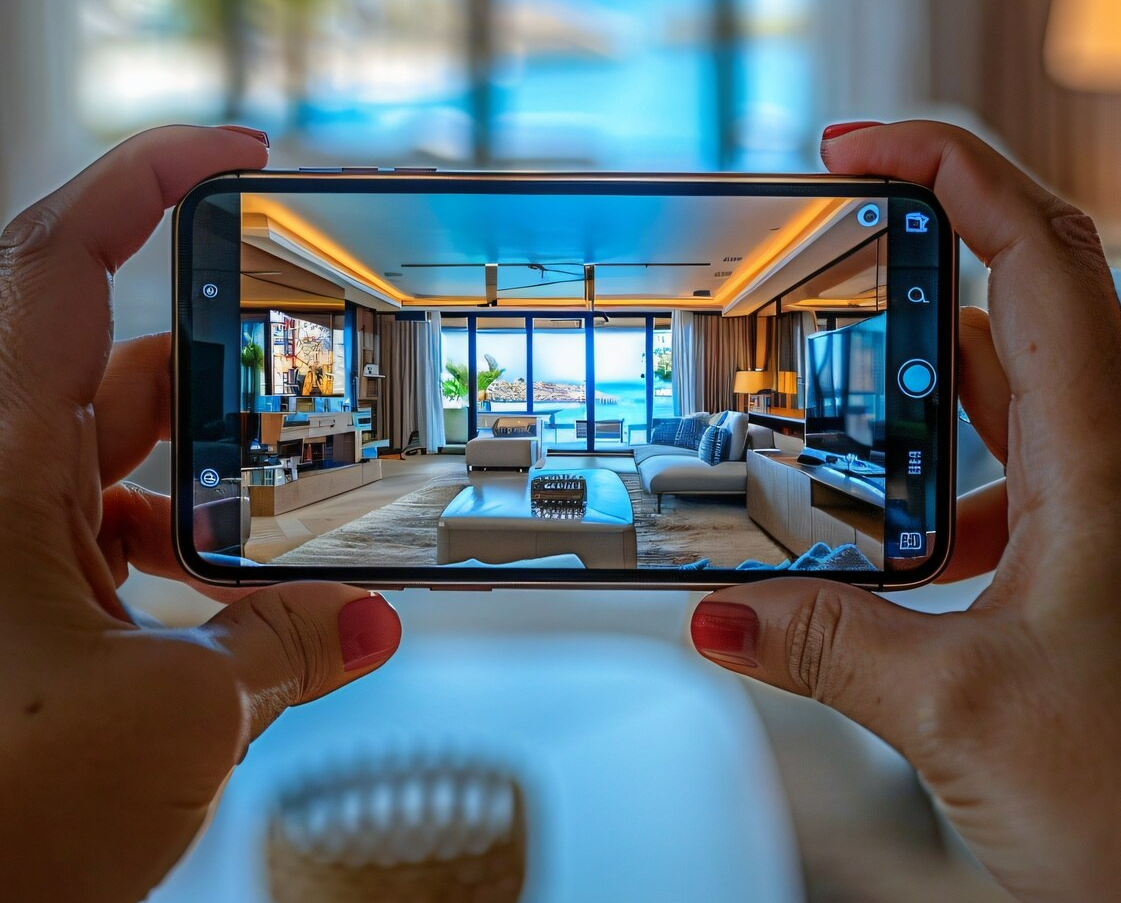
Real estate photo editing isn’t some fancy option anymore – it’s what separates pros from amateurs. You take that boring house photo and make it pop. Fix the lighting, balance the colors, straighten crooked walls, and toss out ugly objects that ruin the shot. Sometimes you even swap out that gross gray sky for something that actually makes people want to live there.
Here’s the deal: buyers scroll through hundreds of listings. Your competition is already doing this stuff. They’re using HDR techniques, virtual staging, and professional editing to make their properties look incredible. If your photos look flat and boring next to theirs, guess whose house gets ignored?
This isn’t about lying – it’s about showing your property’s true potential. Every single successful agent knows this. Your photos need to grab attention in the first three seconds or you’ve lost the buyer forever.
Stop making excuses. Either edit your photos or watch other agents steal your sales. It’s that simple.
The Psychology of Photo Editing Real Estate: First Impressions Sell
Listen up! You Need to understand this – photos aren’t just decoration, they’re your secret weapon!
Here’s the deal: homes with awesome pictures sell 32% faster than ones with crappy photos. That’s not luck – that’s science! People don’t buy houses with their brains, they buy with their hearts. And guess what hits their heart first? Your photos!
Think about it – bright, clean, organized photos make rooms look bigger and way more awesome. When people see those pictures, they start dreaming about living there. And when they’re dreaming, they’re buying!
But here’s what’ll kill your chances: ugly, dark, messy photos. Those pictures are like poison! They make people think something’s wrong with your house before they even walk through the door. Once they get that bad feeling, it’s game over.
You’ve got One shot to make them fall in love. Don’t blow it with terrible photos when good editing can make every single picture work for you instead of against you!
Pre-Editing Checklist: Capture With Editing in Mind
Great editing starts with great shooting. Here’s what to keep in mind:
- Get a DSLR and shoot RAW – seriously: Your phone camera isn’t gonna cut it if you want pro results. RAW files keep ALL the picture info so you can totally fix things later when editing.
- Fix your white balance or your pics will look weird: Nobody wants green-looking skin or orange walls. Just match your camera setting to whatever light you’re using – it takes two seconds!
- Use a tripod – stop being lazy: Shaky hands = blurry photos = wasted time. A tripod keeps everything super sharp and makes all your shots look the same instead of wonky.
- Stage the Space: Clean, declutter, and decorate modestly. A well-prepared space reduces the need for excessive editing.
- Shoot Multiple Exposures: For HDR editing, take three or more shots at different exposure levels.
- Mind Your Angles: Shoot from chest height for interiors to avoid distortion and give a realistic feel.
These steps make post-processing smoother and faster, resulting in more natural and impactful results.
Core Photo Editing Techniques for Real Estate
Editing real estate photos involves a series of essential adjustments that improve image quality without altering the integrity of the property. Here are the core techniques:
- Brightness & Contrast Adjustments: Bright and shade adjustments can instantly improve drab photos. Making spaces seem lighter without exposing too much windows or other light sources is the aim.
- White Balance Correction: Genuine colors are guaranteed by proper white balance. Making this adjustment aids in eliminating blue or yellow tints brought on by the illumination.
- Color Grading and Saturation: Enhancing Spaces become more lively when colors are enhanced, but it’s crucial to avoid going overboard. The property pops with subtle saturation and contrast enhancements while remaining realistic.
- Perspective & Line Correction: Crooked lines or distorted angles can make rooms look unnatural. Use perspective correction tools to straighten verticals, especially for walls and doors.
- Stop letting trash ruin your perfect shot: You worked hard to get that photo, so why let some random garbage can or ugly cord mess it up? Just grab Photoshop’s Content-Aware Fill or clone stamp and bam – those eyesores are gone forever!
- Your boring sky is killing your photo’s vibe: Nobody wants to look at some dull, gray sky when they could see an amazing sunset instead. Don’t settle for blah when you can have wow! Modern AI tools make swapping that dead sky for something incredible super easy and fast. Your photos deserve better – give them the dramatic sky they need!
These core edits enhance the visual quality of your photos while ensuring consistency and professionalism.
Advanced Editing Techniques
- HDR Blending for Interior Shots: High Dynamic Range (HDR) photography blends multiple exposures to bring out details in both bright windows and dark interiors. This technique is perfect for rooms with high contrast lighting.
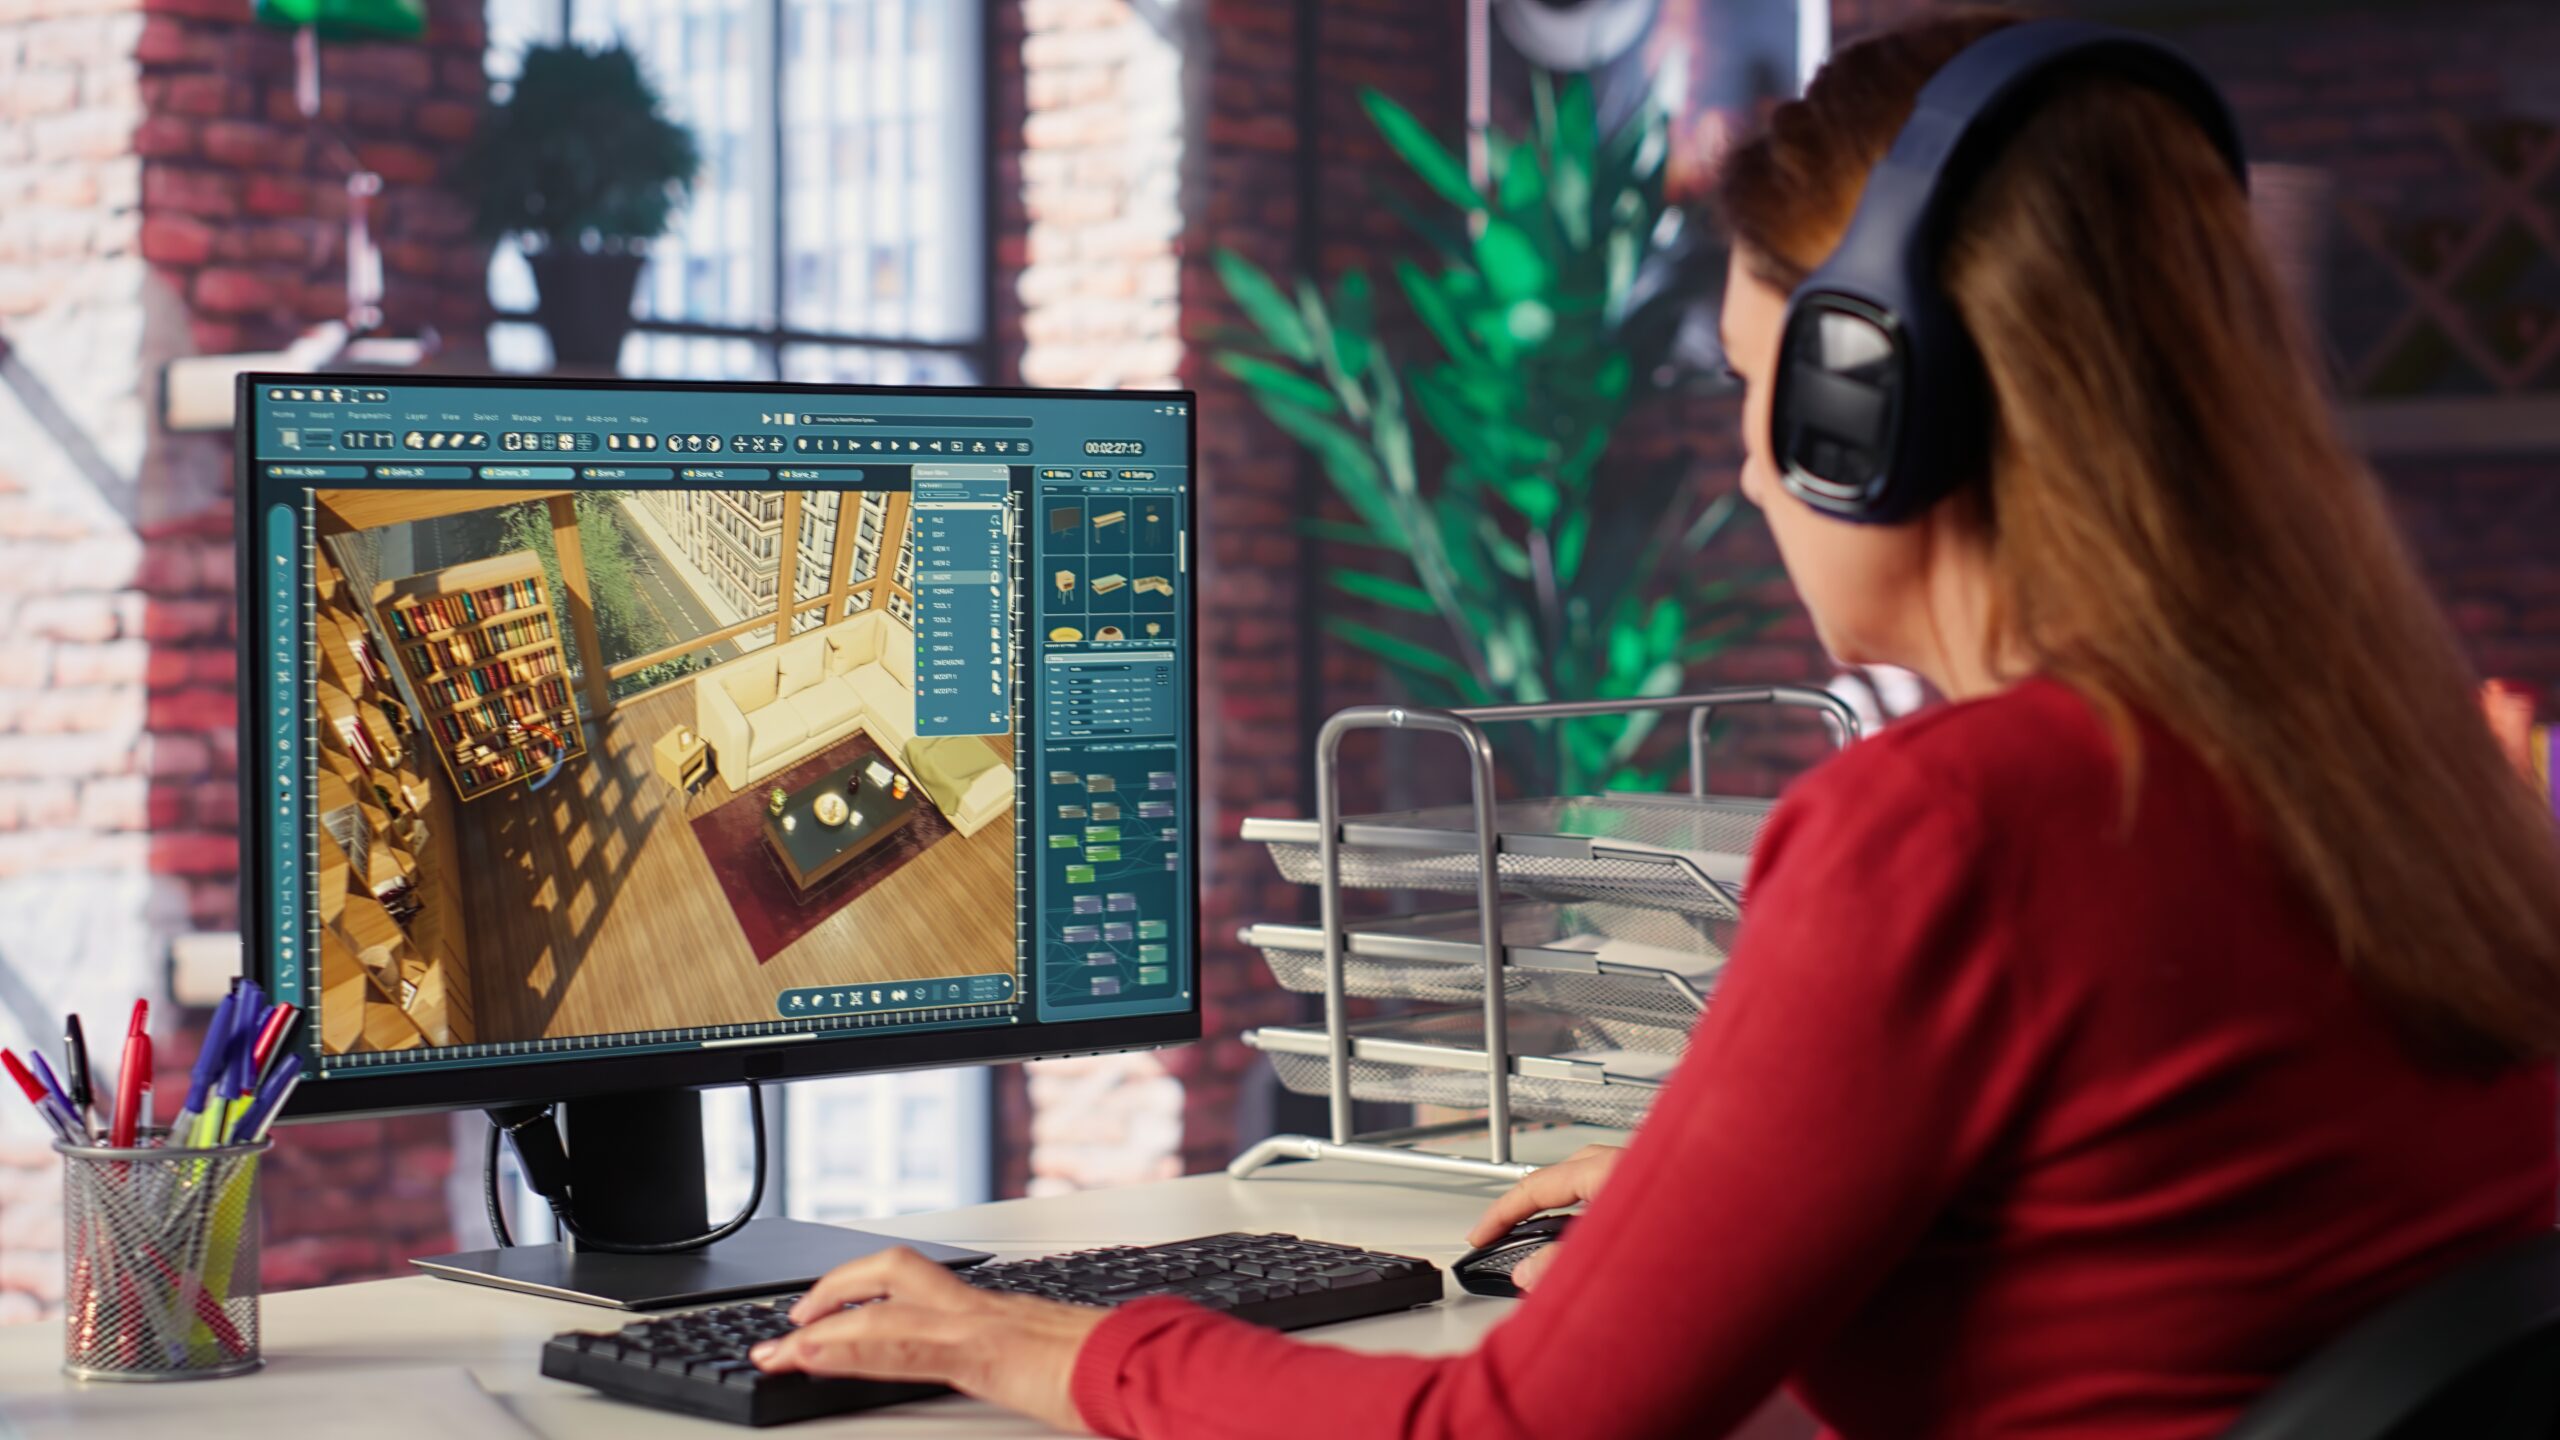
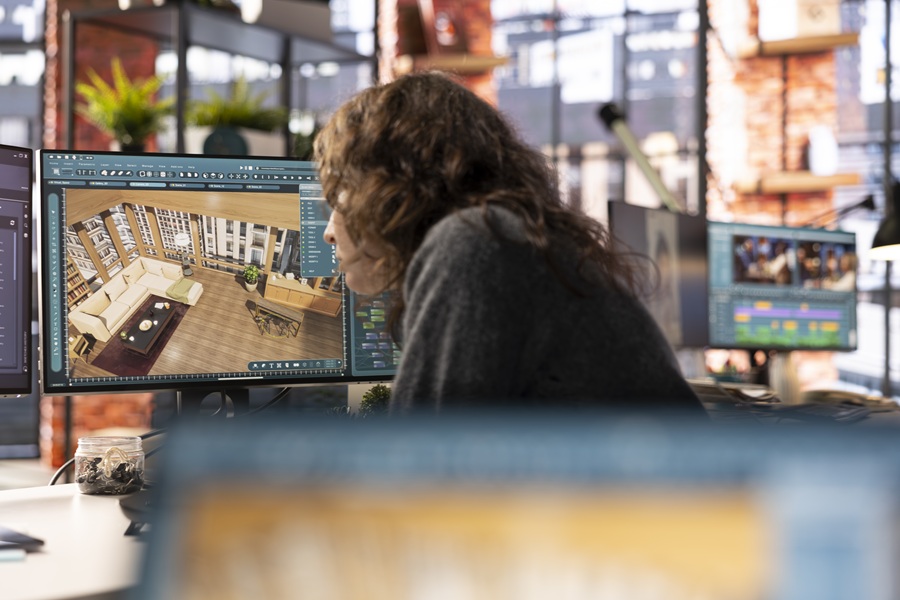
- Virtual Staging: If a home is vacant, virtual staging digitally places furniture and decor to help buyers visualize the space. This is cost-effective and highly impactful for listings.
- Twilight & Night Shot Enhancement: Enhancing images taken at dusk can produce a dramatic effect. Emphasize warm lighting, contrast, and clarity for magical twilight images.
- Window Pull Masking (Exterior View Blending): Window masking blends the outside view through the window with the interior shot for a natural, layered look. It requires precise masking techniques to avoid overexposure.
These advanced techniques elevate the photo’s storytelling value and are especially useful for high-end or luxury listings. With My Pro Photos, you get access to these advanced services without lifting a finger.
From object removal to virtual staging and beyond, our editors and tools work seamlessly behind the scenes — backed by an organized task list, automated billing, and full project visibility. Whether you’re managing multiple listings or handling bulk image uploads, our platform ensures each photo is perfectly aligned with your brand’s aesthetics.
Best Photo Editing Real Estate Software (Free & Paid)
Listen up! If you want your photos to look amazing and not like total garbage, you NEED the right software. Don’t mess around with cheap stuff that’ll make you look like an amateur.
- Adobe Lightroom & Photoshop: This is THE software that all the pros use. Period. If you’re not using this, you’re already behind everyone else. It lets you fix literally anything in your photos – change skies, remove ugly stuff, make colors pop. This is your secret weapon.
- Luminar Neo & Aurora HDR: Luminar Neo is perfect if you’re just starting out because it does the hard work for you with smart AI. Aurora HDR is a total game-changer for those tricky indoor shots where the lighting is all weird. It fixes everything automatically.
- PhotoUp, Phixer & BoxBrownie: These are top-tier outsourcing platforms. They’re ideal for real estate photographers who want fast, professional edits without doing the work themselves.
- Free Tools (GIMP, Canva, Fotor): For beginners or budget-conscious users, these platforms provide decent capabilities. GIMP is closest to Photoshop in functionality, while Canva and Fotor are better for social media or quick touch-ups.
At My Pro Photos, we’ve taken the best of these tools and wrapped them into a seamless, custom-built AWS-powered platform. You don’t need to be an editing expert — simply upload your RAW images and let our professional team handle the rest. With automated billing, real-time project tracking, and easy downloads, our software is designed to streamline your entire workflow.
Outsourcing vs DIY Editing Real Estate Photos
Should you edit photos yourself or outsource them to professionals? Here’s a breakdown:
- When to DIY: If you’re a small-scale photographer with fewer listings and time on your hands, doing basic edits with tools like Lightroom might be cost-effective. It also gives you full creative control.
- When to Outsource: Busy agencies or realtors handling multiple listings benefit more from outsourcing. It saves time, ensures quality, and offers scalability. You focus on shooting and selling — the editing is handled by experts.
With My Pro Photos, outsourcing is more than just convenient. Our platform offers a powerful combination of human expertise and smart technology. You get:
- Best-in-class editors
- Automated project tracking
- Proper image sequencing
- Transparent billing
- Same-day or next-day delivery
It’s a smart solution whether you’re editing five photos or five hundred.
Common Mistakes to Avoid When Editing Real Estate Photos
Even with great software, it’s easy to make errors. Watch out for these pitfalls:
- Over-saturation: Boosting colors too much can make images look fake or misleading.
- Crooked Lines: Misaligned doors, windows, or floor lines can ruin visual balance. Always correct verticals.
- Unrealistic Lighting: Artificial lighting or improper HDR blending can result in glowing or washed-out images.
- Sky Overlays That Don’t Match: Using a sunny sky overlay on a rainy day exterior shot can hurt credibility.
- MLS Violations: Different listing platforms have strict rules — avoid over-editing or staging things that don’t exist.
With My Pro Photos, these issues are proactively addressed. Our editors understand compliance and aesthetic balance, helping you avoid mistakes that cost time, trust, or leads.
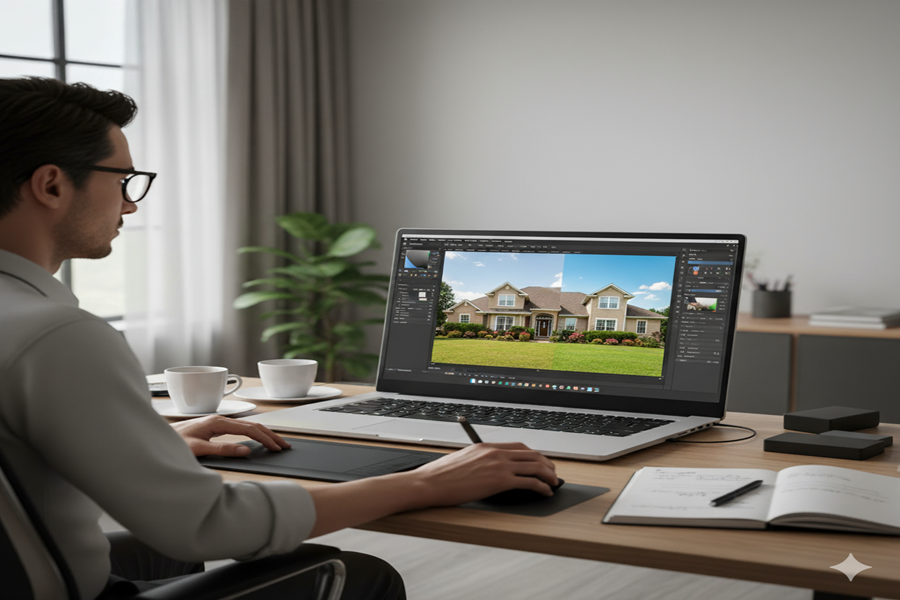
Before & After Examples (Visual Tips)
Seeing is believing. Before-and-after comparisons are the best way to illustrate the power of real estate photo editing.
- Before: Dark, cluttered, uneven lighting
- After: Bright, clean, color-balanced, and professionally aligned
These visual transformations boost buyer confidence and can even justify higher listing prices. At My Pro Photos, we encourage our clients to review their edited images side-by-side. Our dashboard even allows quick visual comparisons before download.
Real Estate Niches That Require Custom Editing Approaches
Different property types demand tailored editing techniques:
- Luxury Homes: Require advanced edits like twilight enhancement, window pull masking, and virtual staging to emphasize grandeur.
- Apartments & Condos: Need clean lines, wide angles, and light enhancement to combat space constraints.
- Commercial Real Estate: Focused on structural clarity, consistent lighting, and brand-aligned color correction.
My Pro Photos supports niche-specific editing. Our editors understand what works for each property type and deliver accordingly.
Conclusion: Turn Clicks into Clients with Flawless Photos
Listen up! Your real estate photos are either making you money or costing you deals. It’s that simple. When someone scrolls through listings, they’re making snap judgments in seconds. Crappy photos? They’re gone. Amazing photos? They’re calling you.
You need photos that grab people and don’t let go. We’re talking about images that make buyers stop scrolling and start dreaming. Pictures that turn browsers into buyers and clicks into cash.
Here’s the truth: Every blurry, dark, or boring photo is a lost sale. Every amateur shot is money walking out the door. You can’t afford to mess this up.
Professional editing isn’t optional anymore – it’s survival. HDR, virtual staging, perfect lighting – these aren’t fancy extras. They’re weapons in a brutal market where only the best listings win.
Your competition is using killer photos. Your buyers expect perfection. So why are you still gambling with mediocre images?
Stop losing deals to better photos. Stop watching your listings get ignored. Get serious about your visuals or get left behind.
The choice is yours: Invest in photos that sell, or keep wondering why nobody’s calling. My Pro Photos delivers the results you need – fast, professional, and ready to dominate your market. Your next sale depends on what you decide right now.